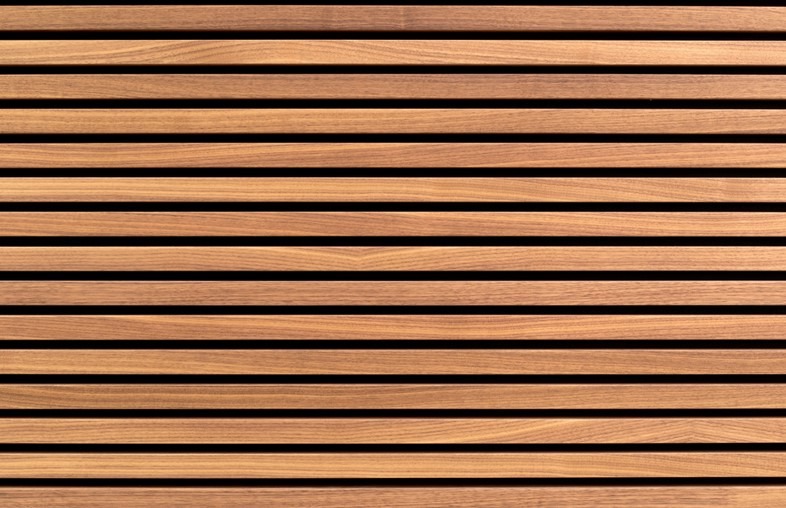
Renovate Your Wood Paneling: A Money Saving Hack

When it comes to home décor, there are many choices to make, from paint colors and furniture to accessories and flooring. But one choice that often gets overlooked is the type of wall paneling used on walls. Wood paneling is a classic option that can add warmth and character to a room. However, with time, they can begin to look old and damaged.
Replacing your wooden panels is a long, daunting and expensive process. If you’re looking for an easier option that will cost you a fraction of the price, this blog is for you! We’ve found the ultimate solution to save you time and money on replacing your panels.
Why Should You Paint Your Wood Paneling?
Painting your wood paneling is a great way to give any room in your house an instant facelift. Here are some benefits you’ll get from choosing painting wood instead of replacing it:
- An Easy Process: Painting your wood paneling is a lot easier than you think! You won’t have to remove any existing paneling or install new drywall. All you need is a little time, the right tools, and our step-by-step guide below.
- Saves You Money: Replacing your wood paneling can be costly. Painting is a much more budget-friendly solution if you love your current paneling but want to refresh the look.
- Adds Value to Your Home: Painting your wood paneling is a great way to add value to your home. If you want to sell, painting your paneling is a quick and easy way to increase your home’s value.
- Creates a Cohesive Look: If you have wood floors, trim, or furniture, painting your wood paneling can create a cohesive look in your home.
- Hides Imperfections: Over time, wood paneling can become damaged or show signs of wear and tear. Painting your paneling is a great way to cover up any imperfections and give your home a fresh, new look.
Painting Wood Paneling in 6 Easy Steps
Here are the steps to follow:
STEP 1: Start by cleaning your wood paneling with soap and water. This will remove any debris, dirt or grease that has built up over time.
STEP 2: Next, sand your paneling with fine-grit sandpaper. This will help create a smooth surface and make it easier for the paint to adhere.
STEP 3: Once your paneling is sanded, wipe it down with a damp cloth to remove dust.
STEP 4: Now, it’s time to paint! Start by painting over the edges and corners of your paneling with a brush. Then, use a roller to paint the rest of your paneling. Be sure to use a paint primer made specifically for wood surfaces.
STEP 5: After the first coat of primer has dried, apply a second coat. Once this has dried, you can begin painting your paneling with the color of your choice.
STEP 6: Finally, finish by adding a top coat of paint for extra protection. This will also help your color last longer.
Cost-Effective Home Improvements With Fix & Feed Hardware Store
Whether a first-time homeowner or a seasoned pro, our home improvement store has everything you need for your home projects. We have all the big brands and trusted manufacturers, so you can be sure you’re getting quality products.
Our knowledgeable staff can help guide you to the right products for your needs. Stop by one of our 4 hardware stores in Texas today and see what we have in stock! We look forward to helping you with all your home improvement needs.
